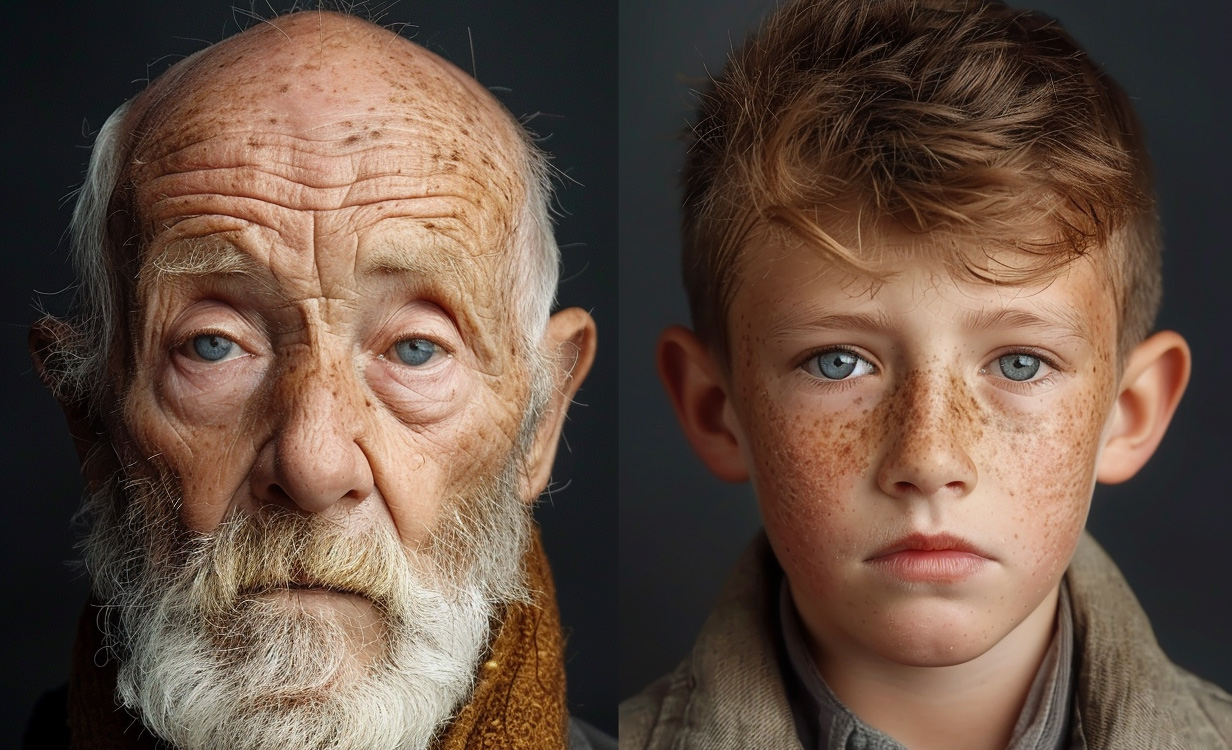
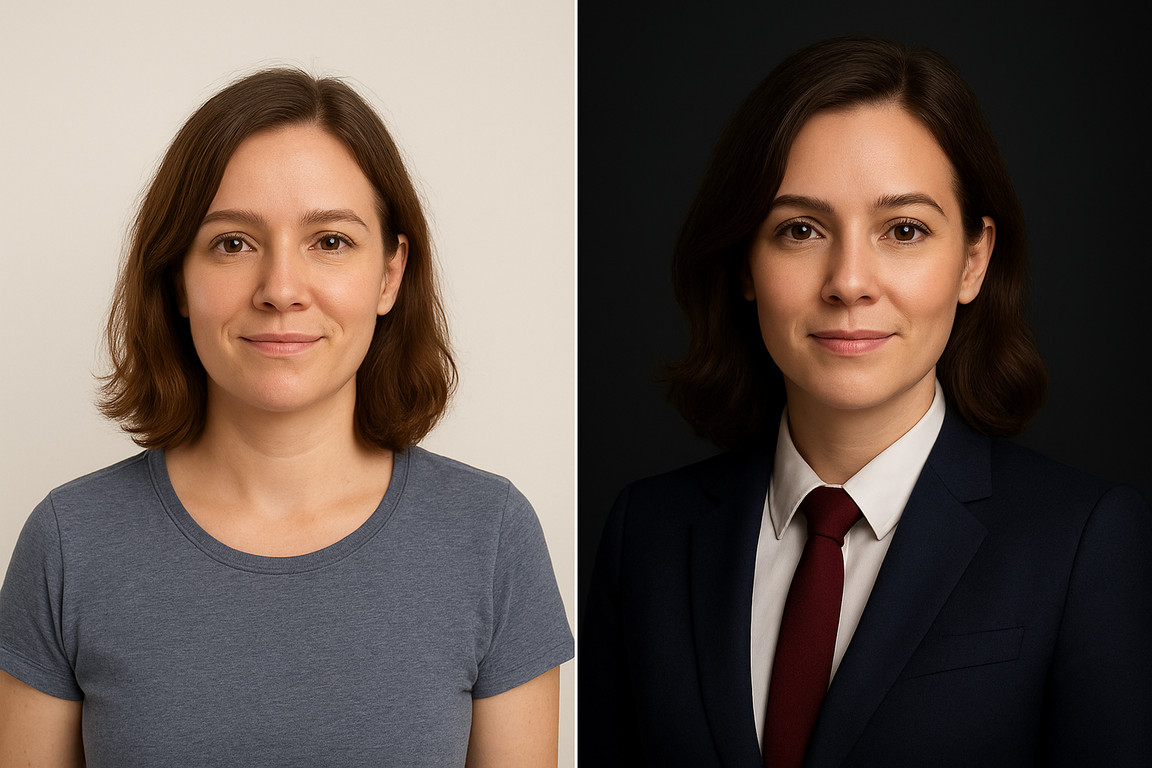
In recent days, a new trend has been taking over social media: the “studio photo,” which transforms ordinary portraits into images worthy of a professional photo shoot. The idea is simple, but the result is impressive.
With the help of artificial intelligence, anyone today can take a photo shot at home and recreate it as though it had been captured in a studio, with a dark background, carefully positioned lights, and an artistic touch reminiscent of major photographic productions.
The trend gained momentum by combining technology and creativity in an accessible way. To join in, all you need is a generative AI tool such as ChatGPT (from OpenAI) or Gemini (from Google). These platforms allow users to submit a photo and write detailed instructions—known as prompts—that guide the artificial intelligence as it generates the new image.
How Do I “Generate a Photo of Myself” Using AI?
We have put together a simple tutorial below—from uploading the photo and entering the prompt to adjusting the background and lighting and downloading the final image. Each stage was designed to be clear and easy to reproduce, even for those who have never worked with AI before.
1 - Upload a Photo of Yourself
For better results, choose an image in which your face and hair are clearly visible, without shadows or elements that interfere with recognition. This helps the AI capture facial features more accurately.
In ChatGPT, tap the “+” icon and select “Add photos & files” to attach it; in Gemini, enable the “Image” option and upload the file in the same way.
2 - Enter the Prompt
After uploading the photo, the next step is to enter a prompt so the AI can perform the transformation. Here is an example of a command that works in both Gemini and ChatGPT:
“Create a realistic portrait of the person in the uploaded image. Preserve characteristics such as skin tone, facial features, expressions, age, gender, and details of the eyes and mouth. Use a white background with natural shadows, simulating a studio photo with high resolution and good lighting.”
This command can be adjusted to suit the style you want. If the idea is to create a more formal look, simply include an additional instruction.
You can also customize the result by choosing different backgrounds—from classic white or black to other colors that better match the desired style. Another option is to add lighting effects, such as lights coming from different angles, creating distinctive outlines and contrasts.
An example of a prompt with these changes would look like this:
“Create a realistic portrait of the person in the uploaded photo. Preserve original characteristics such as skin tone, facial features, expressions, age, gender, and details of the eyes and mouth. For a more formal appearance, replace the clothing with a navy-blue suit, white shirt, and burgundy tie. Use a black background with yellowish lighting from above, creating a subtle outline around the head and shoulders as well as natural shadows. The image should resemble a studio photograph, with high quality and good lighting.
3 - Save and Share
Once the AI generates the portraits, the next step is to save the results for whatever use you prefer—whether posting them on social media, using them on résumés, or even setting one as a profile picture. The download process is very similar and quick in both Gemini and ChatGPT.
- On a mobile phone: open the image in full screen and tap the download icon (down arrow). The photo will be saved to the gallery or downloads folder. On some devices, you can also share it directly to apps such as Instagram or WhatsApp.
- On a computer: position the mouse over the image and click the download icon. By default, the file goes to the “Downloads” folder, but this destination can be changed in the browser. If you want, you can also adjust the photo afterward in editors such as Photoshop or in the operating system itself.
By choosing the generated version you like best, you will have an AI portrait with filters and a style reminiscent of professional photographs.